
 Save
Save
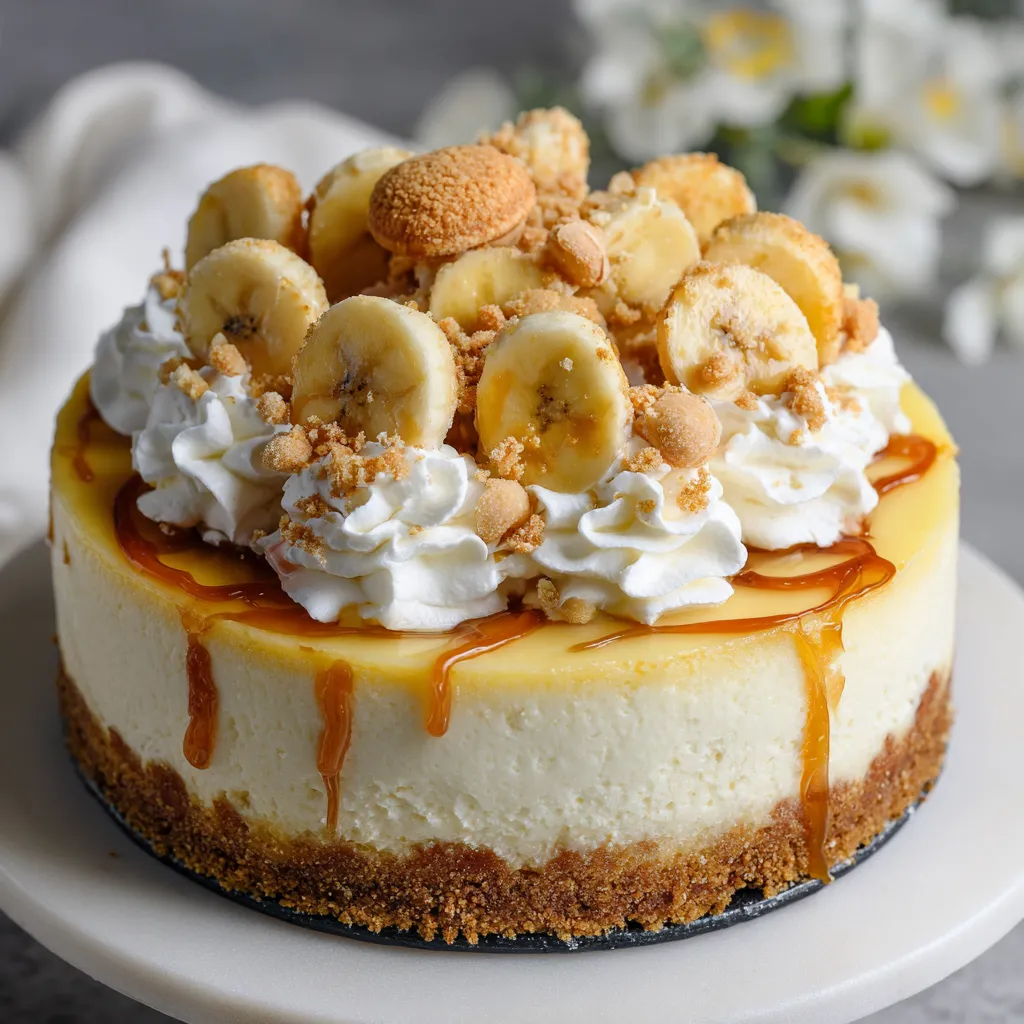
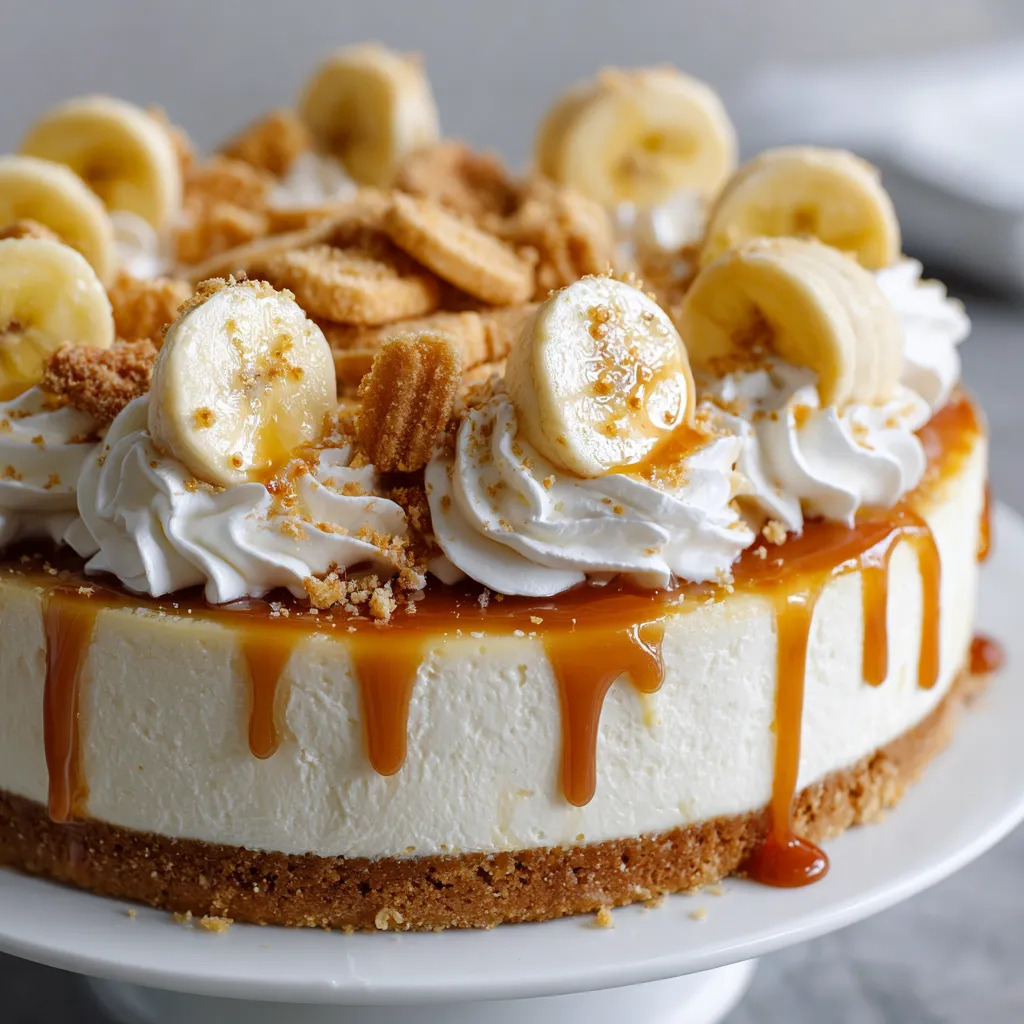
This banana pudding cheesecake is truly the best of both worlds, combining the creamy nostalgia of classic banana pudding with the rich decadence of cheesecake. With a Nilla Wafer crust, swirls of banana cheesecake, and clouds of whipped vanilla pudding on top, it is my most requested dessert for birthdays and potlucks.
I first made this cake for my mom’s birthday, and now it is a family tradition. Every time I serve it, guests go back for seconds.
Ingredients
- Nilla Wafers: Bring a classic banana pudding flavor and crunchy texture Press them into fine crumbs for the best crust
- Brown sugar: Provides a subtle caramel note in the crust Light or dark works fine
- Unsalted butter: Binds the crust together Use real butter for richness and the best flavor
- Cream cheese: The heart of cheesecake Go for bricks at room temperature for a smooth batter
- White granulated sugar: Sweetens the cheesecake and gives a silky finish Use pure cane sugar if available
- Pure vanilla extract: Deepens the whipped topping and cheesecake flavor Look for pure not imitation
- Bananas: Make sure they are ripe and spotty for intense banana flavor Avoid underripe or overly brown fruit
- Sour cream: Adds tanginess and keeps the cheesecake soft Use full fat for creamier texture
- Heavy cream: Keeps the cake lush and smooth Choose heavy or whipping cream that is fresh and cold for whipping
- Large eggs: Bind everything together Use room temperature eggs for even baking
- Instant vanilla pudding: Choose a high quality or well loved brand for best flavor
- Milk: Cold milk activates the pudding Use whole milk for richness
- Crushed Nilla Wafers: Extra crunch between layers and for decorating Pulsing in a food processor works best
Step-by-Step Instructions
- Make the Nilla Wafer Crust:
- Preheat your oven to 325 degrees F and prep a nine inch springform pan with nonstick spray and a parchment paper round at the bottom. Use a food processor to grind Nilla Wafers into fine crumbs then mix with brown sugar and melted butter until it feels like wet sand. Press this mixture halfway up the sides of the pan and firmly across the bottom. Bake for eleven minutes
- Blend the Banana Cheesecake:
- In a stand mixer bowl beat the room temperature cream cheese and sugar on high speed for two minutes until completely smooth with no lumps. Scrape down the bowl with a spatula to make sure everything is incorporated
- Add Banana and Cream:
- Mash two super ripe bananas with a fork and add them to the bowl. Pour in vanilla extract sour cream and heavy cream. Switch to medium speed and mix until everything looks thick and creamy. Do not worry if it has a few banana lumps
- Incorporate the Eggs:
- Mix in eggs one at a time on low speed just until combined. Avoid over mixing to keep it light. Scrape down the bowl again
- Layer and Fill:
- Pour half the cheesecake batter over the cooled crust. Arrange thinly sliced bananas and a sprinkle of crushed Nilla Wafers across the surface then add the rest of the cheesecake batter on top spreading it to the edges
- Bake in a Water Bath:
- Place the filled pan in either a ten inch cake pan or wrap the springform tightly with foil and set into a roasting pan. Pour steaming hot water into the roasting pan until it comes halfway up the sides. Bake for eighty to ninety minutes The edges should be set with a gentle jiggle in the center
- Cool Gently and Chill:
- Once baked turn off the oven and slightly crack the door for thirty minutes to let the cheesecake cool gently. Remove the pan from the water bath and set it on a rack until fully cooled. Once room temperature wrap in foil and chill in the fridge for at least six hours or overnight for best texture
- Make the Whipped Vanilla Pudding:
- Beat the vanilla pudding mix with cold milk for two minutes until thick. Chill briefly while you whip cold heavy cream and vanilla extract until stiff peaks form. Carefully fold the whipped cream into the pudding with a spatula to keep it airy
- Finish and Decorate:
- Remove the cheesecake from the pan and peel away the parchment. Pile on the whipped vanilla pudding and swirl over the top. Sprinkle with extra crushed Nilla Wafers just before serving
 Save
Save
My favorite ingredient in this dessert is the ripest bananas you can find They turn the cheesecake deep yellow and add such intense aroma. We once made this cake on a rainy afternoon with my nephews and laughed about our sticky banana hands for days
Storage Tips
Refrigerate the cheesecake tightly wrapped for up to five days It tastes even better the next day after the flavors meld. For longer storage freeze whole or individual slices and thaw overnight in the refrigerator before serving
Ingredient Substitutions
If you cannot find Nilla Wafers try digestive biscuits or graham crackers instead For a nutty spin use half vanilla wafer crumbs and half toasted pecans. Greek yogurt can stand in for sour cream though the flavor is slightly tangier
Serving Suggestions
Serve the cake with extra whipped cream or a drizzle of salted caramel. For a more festive look top with fresh banana slices and a handful of reserved Nilla Wafers just before bringing it to the table
Cultural and Historical Context
Banana pudding is a classic dessert in the American South dating back to the early 1900s often layered with vanilla pudding and cookies. This cheesecake version honors those roots while making it perfect for special occasions
Recipe FAQs
- → How do I keep the cheesecake from cracking?
Bake with a water bath and avoid over-mixing. Let it cool gradually in the oven with the door ajar.
- → Can I use another crust instead of Nilla Wafers?
Yes, graham crackers or shortbread cookies work well as substitutes for the base crust layer.
- → Do the bananas need to be ripe?
Ripe bananas are ideal since they provide better sweetness and blend more smoothly into the cheesecake mixture.
- → How long should the cheesecake chill before serving?
Chill at least 6 hours or overnight to allow the flavors to set and the texture to firm.
- → What toppings pair well with banana pudding cheesecake?
Top with whipped vanilla pudding, fresh banana slices, and extra crushed Nilla Wafers for best results.
- → Can this dessert be made ahead?
Yes, prepare a day in advance and keep chilled before serving. Add fresh toppings just before enjoying.