
 Save
Save
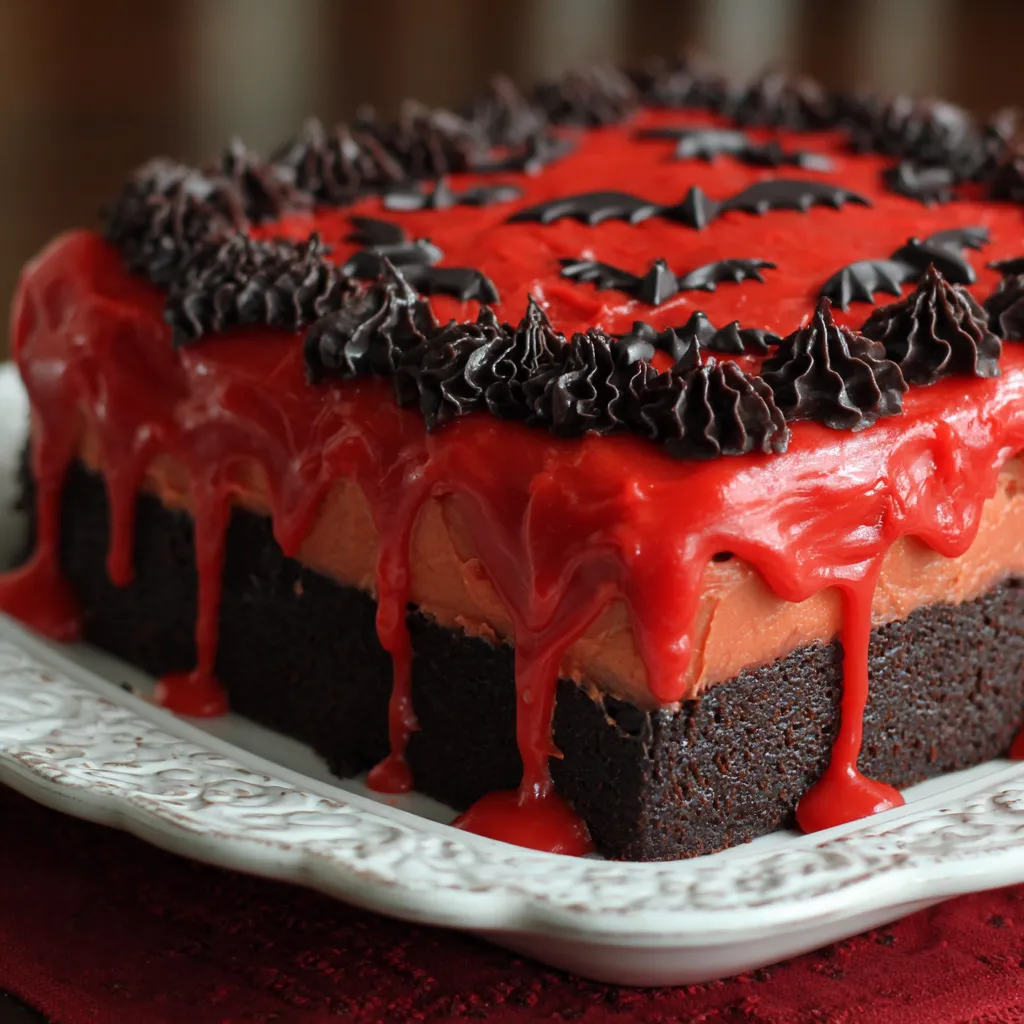
Vampire fudge is one of those Halloween treats that always guarantees gasps and smiles at parties. This three-ingredient fudge creates a dramatic flair with its marbled red and black swirls, all while tasting addictive and creamy. Whether you are making it for a class party or just to delight some spooky movie night guests, you will not believe how easy it is to whip up this showstopper.
Ingredients
- Cream cheese frosting: this brings the fudge its creamy texture and balances the sweetness look for one with real cream cheese at the top of the ingredient list if possible
- Black candy melts: provide deep color and chocolate flavor be sure to check the date so they melt smoothly
- Red candy melts: bring the signature gooey effect and dramatic appearance choose a vibrant red shade and avoid older melts which can seize up
Step-by-Step Instructions
- Prepare the Pan:
- Lightly grease an eight inch square cake pan and line it with parchment paper creating a cross shape that will help lift out the fudge later
- Melt the Candy:
- Place the black melts in one microwave safe bowl and the red melts in another Microwave each bowl separately in short bursts pausing every thirty seconds to stir and ensure the melts become smooth and glossy without burning
- Warm the Frosting:
- Remove the foil and lid from the frosting container Microwave the frosting for forty five seconds until just loosened but not bubbling
- Combine and Color:
- Pour half of the warmed frosting into the black melts and the other half into the red melts Stir each until completely smooth and evenly colored
- Layer the Fudge:
- Spoon alternating dollops of red and black fudge into your prepared pan Scatter randomly to create a marbled effect Repeat until all mixture is in the pan
- Set the Fudge:
- Tap the pan gently on the counter to smooth the top and release bubbles Chill in the fridge for at least four hours until firm
- Cut and Serve:
- Use the parchment lift out the fudge to a cutting board Slice into even squares I usually aim for five by five or six by six depending on how spooky small I want them
 Save
Save
Storage Tips
Keep any extra fudge in an airtight container in the fridge so it stays dense and creamy The squares can be made three days ahead and are perfect for prepping before a busy holiday weekend Fudge also freezes well in a well sealed bag for up to two months just thaw for an hour in the fridge before serving
Ingredient Substitutions
If you cannot find candy melts use good quality chocolate chips plus a bit of food coloring Gel colors work best if you want that vibrant red and deep black look Dairy free cream cheese frosting will also work if needed though the texture may be slightly softer
Serving Suggestions
Present these vampire fudge squares on a black platter with plastic spiders for extra drama They pair well with hot apple cider or cocoa and double as perfect Halloween party favors Just wrap individually in cellophane for guests to take home
Recipe FAQs
- → How do you achieve the swirl effect in vampire fudge?
Pour alternating layers of black and red candy melts into the prepared pan. Gently tap the pan to help the colors mix just at the edges, creating a natural marbled pattern.
- → Can I substitute the candy melts with another ingredient?
White chocolate tinted with food coloring can be used as a substitute, but candy melts provide a firmer texture and smoother finish.
- → What is the best way to store vampire fudge?
Keep pieces in an airtight container in the fridge. This maintains flavor and consistency for up to a week.
- → Is cream cheese frosting necessary for this treat?
Cream cheese frosting gives extra creaminess and helps bind the fudge. Other frostings might alter the flavor and texture.
- → Can this fudge be made ahead of time?
Yes! Prepare the fudge the day before, refrigerate until set, then cut just before serving for best texture and appearance.