
 Save
Save
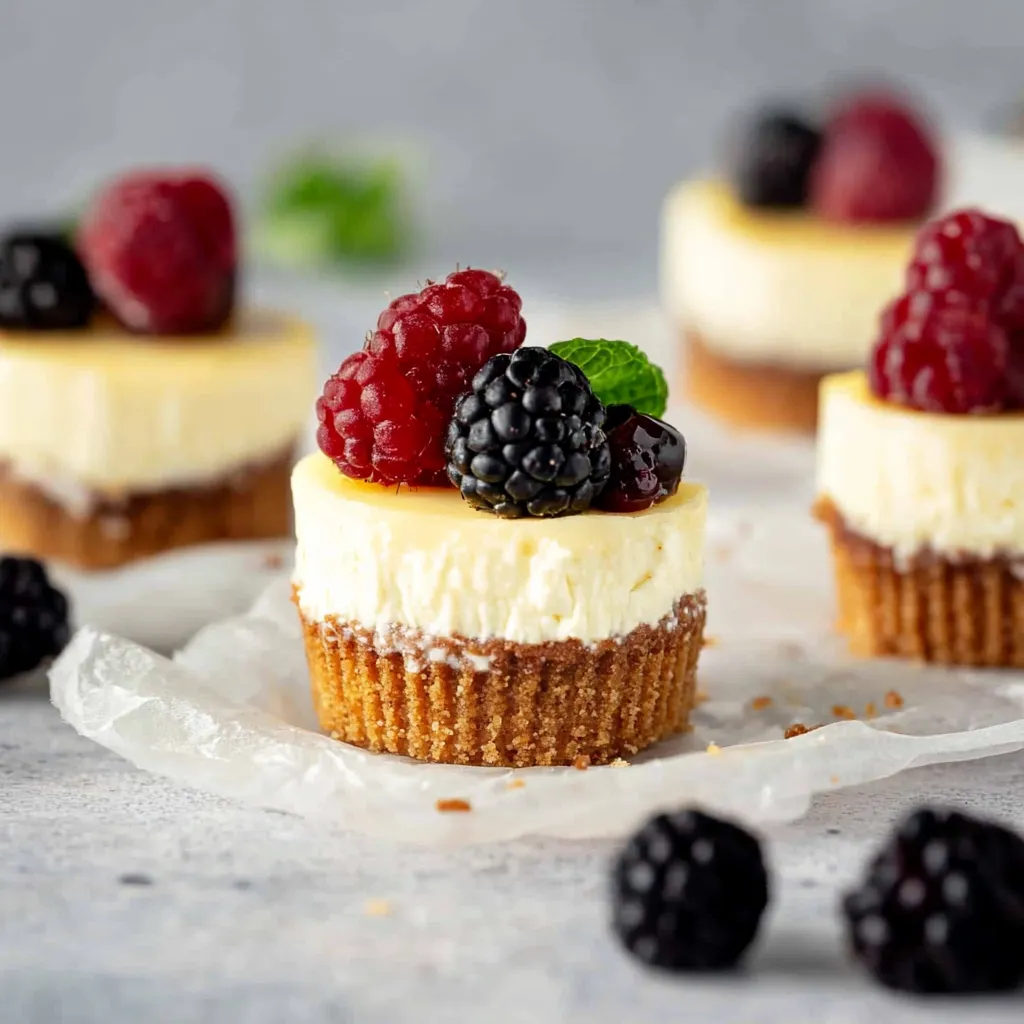
This mini protein cheesecake recipe transforms the classic indulgent dessert into a guilt-free treat that delivers impressive nutrition without sacrificing flavor. Each bite-sized cheesecake packs over 9 grams of protein while maintaining that creamy, luxurious texture we all crave from traditional cheesecake.
I first created these mini cheesecakes when searching for a post-workout treat that would satisfy my sweet tooth without undoing my fitness goals. Now they've become my go-to dessert for family gatherings where I want to offer something that feels indulgent but provides genuine nutritional benefits.
Ingredients
- The Crust: Graham cracker crumbs provides that classic cheesecake foundation choose gluten-free if needed
- Salted butter adds richness and helps bind the crust select high-quality grass-fed for best flavor
- The Cheesecake: Cream cheese creates that signature tangy creaminess use room temperature for smoothest results
- Plain Greek yogurt adds protein and creates lighter texture while maintaining creaminess
- Granulated sugar balances tanginess without overwhelming sweetness
- Eggs provide structure and richness essential for proper setting
- Vanilla extract enhances the flavor profile use pure not imitation
- Lemon juice brightens the entire dessert adds complexity
- Lemon zest optional for more pronounced citrus flavor
- Arrowroot starch or cornstarch helps stabilize the filling prevents cracking
Step-by-Step Instructions
- Prepare Your Equipment
- Preheat your oven to 350°F and line a standard cupcake tin with 12 paper liners. This preparation ensures your cheesecakes will cook evenly and can be removed easily after cooling.
- Create the Perfect Crust
- Process graham crackers until they form fine crumbs then mix thoroughly with melted butter. The texture should resemble wet sand and hold together when pressed. Divide this mixture evenly among the muffin cups and press firmly to create a solid foundation.
- Pre-Bake the Crust
- Bake the crusts for 5-6 minutes until just set. This short baking time prevents soggy bottoms by creating a barrier between the filling and liner. Allow crusts to cool slightly before filling.
- Mix the Filling Carefully
- Beat room temperature cream cheese until completely smooth before adding any other ingredients. This step is crucial for avoiding lumps in your final product. Then incorporate all remaining ingredients at the lowest mixer setting to prevent incorporating excess air.
- Fill and Bake Properly
- Divide the filling evenly among the prepared crusts and bake for 17-20 minutes. The cheesecakes are done when they appear set around the edges but still have a slight jiggle in the center. Avoid overbaking which causes cracks and dryness.
- Cool Strategically
- Allow the cheesecakes to cool at room temperature for 30 minutes before refrigerating. This gradual temperature change prevents the surface from cracking. Chill for at least 3 hours before serving for best texture and flavor.

I particularly love the Greek yogurt in this recipe. It transforms what would typically be a heavy dessert into something light yet satisfying. My teenage daughter who typically avoids protein-focused foods requests these regularly proving that healthy desserts can truly please everyone at the table.
Make-Ahead Magic
These mini cheesecakes actually taste better after sitting overnight in the refrigerator as the flavors meld and deepen. This makes them perfect for busy hosts who want to prepare dessert well before guests arrive. I often make a double batch on Sunday for grab-and-go protein-rich snacks throughout the week.
Topping Ideas
While these cheesecakes are delicious plain, toppings can elevate them to new heights. Fresh berries add antioxidants and natural sweetness. A light drizzle of honey or maple syrup creates a beautiful finish. For special occasions, a small dollop of whipped coconut cream and a mint leaf creates an elegant presentation without adding significant calories.
Nutritional Powerhouse
The protein content in these mini cheesecakes comes primarily from the Greek yogurt and eggs. This combination not only creates the perfect texture but also provides complete proteins with all essential amino acids. The portion size is carefully calculated to satisfy your sweet tooth while aligning with balanced nutrition goals even for those watching their macronutrients.
FAQs for This Recipe
- → Can I make these mini cheesecakes gluten-free?
Yes! Simply use gluten-free graham crackers for the crust as mentioned in the ingredients list. The remaining ingredients are naturally gluten-free, making this an easy adaptation.
- → How long do these mini cheesecakes need to chill?
After baking, let them cool at room temperature for about 30 minutes, then refrigerate for at least 3 hours before serving for the best texture and flavor.
- → Can I use regular cream cheese instead of light?
Absolutely! The recipe works with either regular or low-fat cream cheese, depending on your preference. Using regular cream cheese will create a slightly richer texture.
- → How do I know when the mini cheesecakes are done baking?
The cheesecakes are done when the filling has just set - it should not jiggle or look wet. This typically takes 17-20 minutes at 350°F.
- → Can I freeze these mini cheesecakes?
Yes! These freeze beautifully. Cool completely, then wrap individually and freeze for up to 2 months. Thaw overnight in the refrigerator before serving and add fresh toppings just before eating.
- → What can I substitute for arrowroot starch?
Cornstarch works perfectly as a 1:1 substitute for arrowroot starch in this recipe, as mentioned in the ingredients list.