
 Save
Save
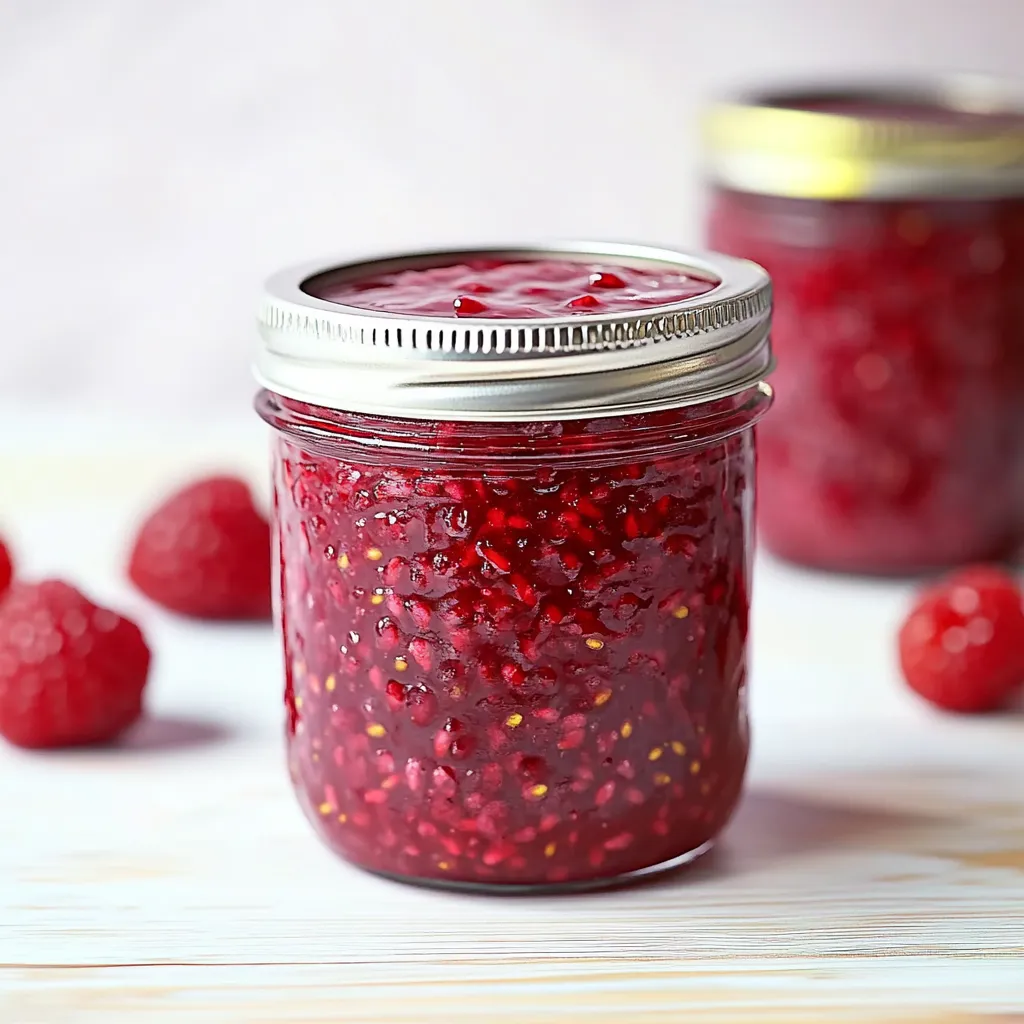
This raspberry freezer jam has become my summer saving grace when berries are at their peak and I want to capture that fresh-picked flavor without the fuss of traditional canning. The vibrant ruby color and intense berry flavor will transport you straight to summer even in the coldest months.
I first made this jam during a particularly bountiful raspberry season when my neighbor shared an overflowing basket from her garden. My family now eagerly anticipates our annual jamming session, with my daughter claiming she can taste the sunshine in every spoonful.
Ingredients
- Fresh raspberries provide the perfect balance of sweet and tart flavors Choose berries that are plump, deeply colored, and slightly firm for best results
- Granulated sugar enhances the natural sweetness while helping preserve the fruit Feel free to adjust to your preference
- Lemon juice brightens the flavor and helps with natural setting Look for fresh lemons as they provide better flavor than bottled juice
- Cornstarch acts as a gentle thickener without extended cooking Use a quality brand for best results
Step-by-Step Instructions
- Combine Ingredients
- Add raspberries, sugar, lemon juice, and cornstarch to a saucepan over medium heat. Stir continuously until the sugar completely dissolves to ensure a smooth texture. The mixture will begin to release its vibrant color as the berries soften.
- Simmer To Perfection
- Bring the mixture to a boil, watching carefully as it can bubble up quickly. Reduce heat to medium-low and simmer for 10-12 minutes. Stir occasionally to prevent sticking and gently mash any larger berry pieces with your spoon. The jam should thickly coat the back of a spoon when ready.
- Adjust Consistency
- If your jam seems too thin after cooking, prepare a small slurry with 1 teaspoon cornstarch and a little water. Add this mixture slowly while stirring constantly until you reach your desired thickness. Remember that the jam will continue to thicken as it cools.
- Cool And Store
- Remove the pan from heat and allow the jam to cool slightly. Transfer to clean jars, leaving about half an inch of headspace if freezing. Let the jam cool completely before adding lids to prevent condensation. Label with the date for easy tracking.
My favorite part of this recipe is the versatility of the raspberry flavor. Last Christmas, I gifted small jars with handwritten labels to friends, and received more compliments on this simple jam than on any elaborate baked goods I had made. The pure raspberry essence truly speaks for itself.
Customize Your Sweetness
The beauty of homemade preserves lies in your ability to control the sweetness level. The recipe as written produces a relatively tart jam that lets the natural raspberry flavor shine through. If you prefer something sweeter, gradually add more sugar while the mixture is still warm, tasting as you go. Some raspberries are naturally sweeter than others depending on variety and growing conditions, so trust your taste buds rather than strictly following measurements. For a deeper flavor dimension, consider substituting a portion of the white sugar with brown sugar or honey, though this will slightly change the consistency and color.
Serving Suggestions
This vibrant jam transcends the simple breakfast toast application. Warm it slightly to drizzle over vanilla ice cream for an elegant dessert topping. Spoon a dollop onto plain yogurt with granola for a satisfying breakfast parfait. Use it as filling between cake layers or as the center of thumbprint cookies during holiday baking. For a sophisticated appetizer, spoon over a block of cream cheese and serve with crackers. My personal favorite use is stirring a spoonful into plain oatmeal, where the jam melts into ribbons of raspberry goodness throughout the bowl.
Troubleshooting Tips
Even experienced jam makers occasionally encounter issues with consistency. If your jam seems too runny after cooling completely, you can reheat it and add additional cornstarch as directed. Conversely, if your jam becomes too thick in the refrigerator, simply stir in a teaspoon of warm water before serving. Occasionally, raspberry seeds may bother sensitive palates. For a smoother texture, strain half the berry mixture through a fine mesh sieve before cooking. This removes some seeds while maintaining the rustic texture that makes homemade jam special.
Storage Know-How
Unlike traditionally canned jams, freezer jam requires proper cold storage to remain safe for consumption. In the refrigerator, expect your jam to maintain peak quality for about three weeks. For longer storage, freeze in appropriate containers, remembering to leave expansion space. Glass canning jars work well, but plastic freezer containers are another excellent option that eliminates breakage concerns. To thaw frozen jam, simply transfer a container to the refrigerator overnight. Avoid repeated freezing and thawing, which can deteriorate both texture and flavor. I recommend making smaller jars if you typically use jam sparingly.
FAQs for This Recipe
- → Why is my raspberry jam not thickening properly?
If your jam isn't reaching the desired thickness, it's likely because in-season berries contain extra moisture. Make a simple slurry by mixing 1 teaspoon cornstarch with a small amount of water, then slowly add this mixture to your simmering jam while stirring constantly. Continue cooking until it thickly coats the back of a spoon. Remember the jam will continue to thicken as it cools.
- → How sweet is this raspberry jam?
This raspberry jam creates a tart, lightly sweet flavor profile. If you prefer a sweeter jam, you can add up to twice the amount of sugar (1 cup total) or adjust to your desired sweetness level. Always stir thoroughly and ensure the sugar fully dissolves before removing from heat.
- → Can raspberry freezer jam be stored at room temperature?
No, this raspberry freezer jam is NOT shelf-stable and must be kept refrigerated or frozen. Treat it like fresh produce - it will stay good for up to 3 weeks in the refrigerator or up to a year in the freezer. When freezing, leave ½ inch of headspace at the top of the jar to allow for expansion.
- → How do I properly measure the raspberries for this jam?
For best results, measure raspberries by weight (16 ounces) rather than volume. Cup measurements can be unreliable due to varying berry sizes and shapes. For reference, 16 ounces equals approximately 3.5 to 4.5 cups of raspberries. Frozen raspberry bags and fresh berries in clamshell containers are typically labeled by weight.
- → Can I use frozen raspberries instead of fresh?
Yes, both fresh and frozen raspberries work well for this jam. If using frozen, there's no need to thaw them first - simply add them directly to the saucepan as directed. You might need slightly more cornstarch since frozen berries often release more liquid during cooking.
- → How can I tell when the jam is cooked enough?
The jam is ready when it thickly coats the back of a spoon after simmering for 10-12 minutes. If you draw your finger across the coated spoon, it should leave a clear path that doesn't immediately fill in. Remember that the jam will continue to thicken as it cools, so it's better to slightly undercook than overcook.