
 Save
Save
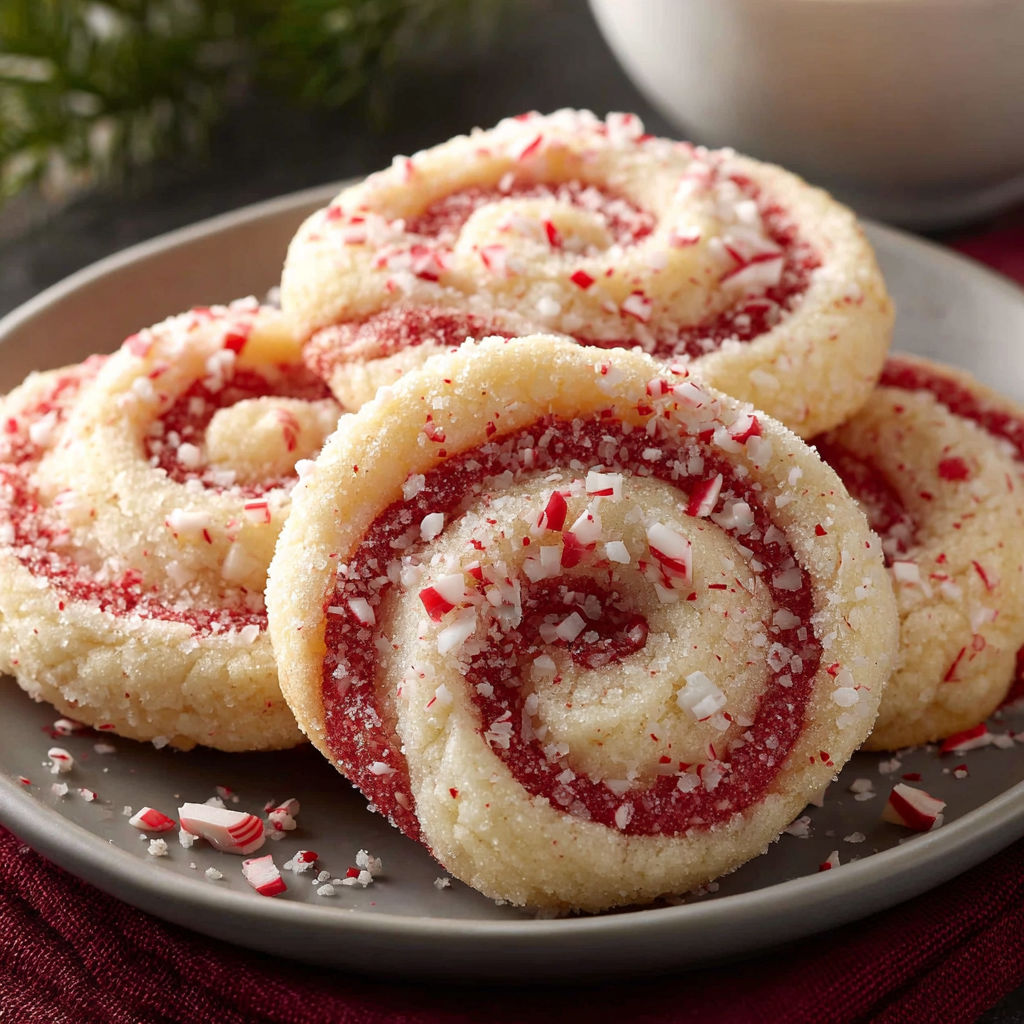
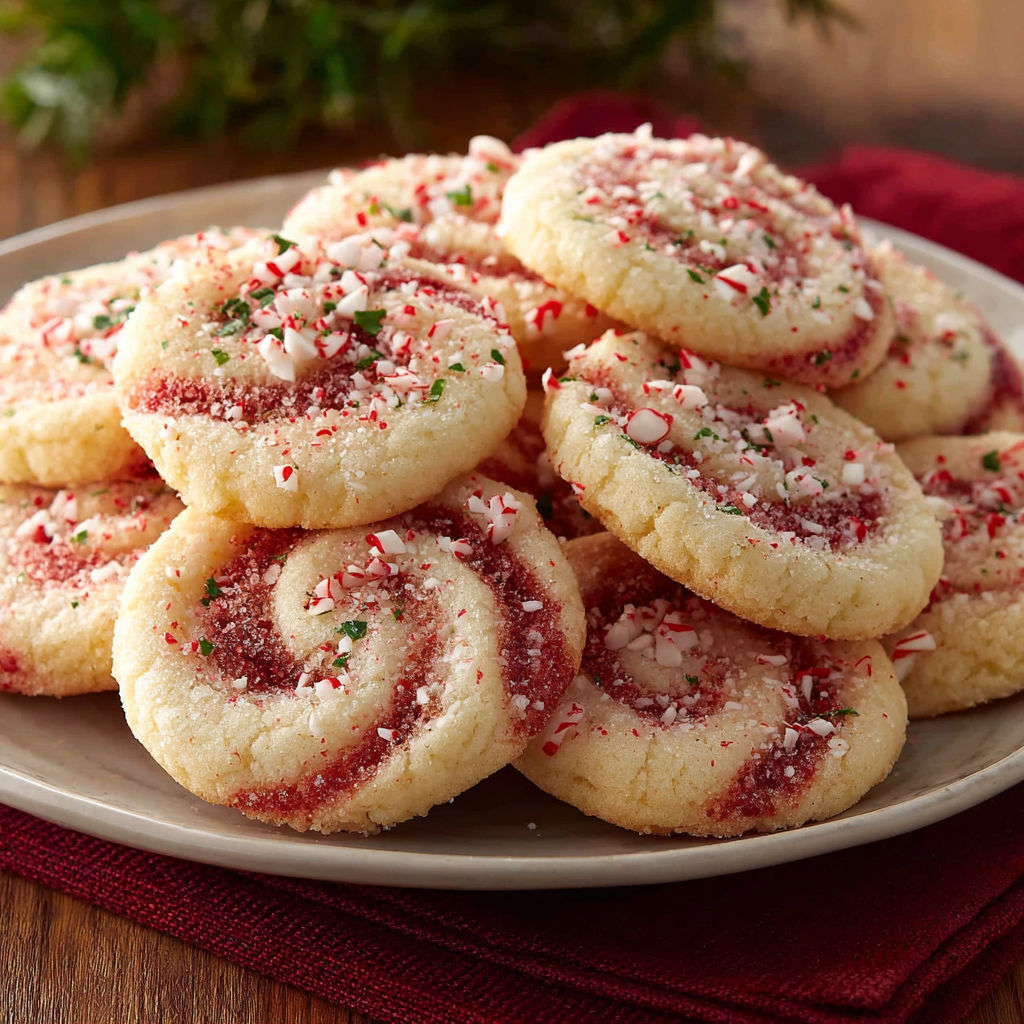
Peppermint Swirl Cookies bring together buttery vanilla dough and bold peppermint flavor with a cheerful swirl of red and white. These festive cookies are the highlight of any holiday cookie tray and an automatic hit with kids and grownups alike. They are surprisingly simple to make, and the eye-catching results always feel like magic.
I first made these Peppermint Swirl Cookies for a cookie exchange at work. After seeing how quickly they disappeared, I made them again for my family, and now it is impossible to imagine a holiday season without a batch on the counter.
Ingredients
- All-purpose flour: gives structure and balance to the cookies Choose unbleached for the best texture
- Baking powder: adds just enough lift for a tender crumb Select a fresh tin for best results
- Salt: enhances the flavors and ensures the cookies are not overly sweet Use kosher salt for purity
- Unsalted butter: brings richness and that classic cookie taste Pick high-quality butter for the ultimate melt-in-your-mouth texture
- Granulated sugar: sweetens and helps the cookies hold their shape Fine sugar blends best
- Large egg: binds the dough and adds a little rise Farm-fresh eggs offer deeper flavor
- Vanilla extract: provides aromatic warmth Go for pure extract for a richer taste
- Peppermint extract: infuses bright peppermint flavor Always use peppermint not spearmint
- Red gel food coloring: creates the iconic swirl Gel gives intense color without thinning the dough
- Coarse sugar or crushed peppermint candies: bring sparkle and crunch Sprinkle on before slicing for a festive finish
Instructions
- Make the Dry Mix:
- In a medium bowl whisk flour baking powder and salt together until fully blended This ensures even distribution of the leavening and salt to avoid clumps in your cookies
- Cream the Butter and Sugar:
- Use an electric mixer to beat the softened butter and granulated sugar together for about three to four minutes on medium speed until light and fluffy This step is crucial for a tender cookie so do not rush it
- Add the Wet Flavorings:
- Beat in the egg then the vanilla extract and peppermint extract Continue mixing until the dough looks creamy and smooth
- Combine Dry and Wet Mixtures:
- Gradually add the flour mixture to the butter mixture on low speed Stir just until a soft dough forms The dough should look even and not crumbly or sticky Avoid overmixing for best texture
- Divide and Color the Dough:
- Split the dough in half Wrap one half plain then use red gel food coloring to tint the second half Vibrant color means you will get sharp swirls in the finished cookies
- Chill the Dough Balls:
- Wrap both dough halves tightly and chill for at least thirty minutes Chilling keeps the dough firm which prevents color bleeding and sticky mess when you roll it out
- Roll the Dough into Rectangles:
- On a floured surface roll the plain dough into a ten by twelve inch rectangle about one quarter inch thick Repeat with the colored dough so both are the same size
- Stack and Form the Spiral:
- Lay the red dough rectangle over the plain dough rectangle and gently press Stack them smoothly to keep your swirls even
- Roll into a Log:
- Starting from the long side tightly roll the stacked dough into a log shape Press gently as you go to avoid air pockets and keep the swirl pattern defined
- Chill the Dough Log Again:
- Wrap the dough log snugly and refrigerate it for at least two hours until very firm This step ensures you get clean slices and beautiful swirls
- Slice and Coat the Cookies:
- If you like brush the log with a bit of water Roll the whole log in coarse sugar or crushed peppermint candies for extra sparkle and crunch Slice into one quarter inch thick rounds
- Bake and Cool:
- Arrange slices one inch apart on prepared baking sheets and bake at three hundred seventy five degrees Fahrenheit for eight to ten minutes Edges should be just turning golden Let cool on sheets for a few minutes then transfer to a rack

One of my favorite parts is adding the peppermint extract It makes the whole kitchen smell like a candy cane factory and has become a signal to my family that holiday baking season has begun Every year my little one insists on helping with the swirls and takes so much pride in the cookies they helped create
Storage Tips
Store any leftover cookies in an airtight tin at room temperature for up to five days If you want to keep them for longer place slices of parchment between the cookies and tuck them in a sealed container in the freezer They defrost quickly so you can grab a treat anytime When storing be sure not to pack them too tightly so the swirls stay crisp and the decorations do not smudge
Ingredient Substitutions
If you do not have peppermint extract you can use a combination of vanilla and a tiny drop of spearmint extract If you are avoiding artificial dyes try using natural beet or pomegranate for a pink swirl instead of red gel food coloring Softened margarine can replace butter but you will lose that classic melt in your mouth crumb If you need to make the cookies gluten free use a reliable cup for cup flour substitute and test for texture after chilling
Serving Suggestions
Pile these cookies onto a festive platter with mugs of hot cocoa or serve them with peppermint ice cream for the ultimate holiday dessert I like to wrap a dozen in clear bags with a shiny ribbon for neighbor gifts They look amazing paired with other red and white treats for a holiday cookie board
Cultural and Historical Context
Peppermint swirl cookies have roots in American cookie traditions that celebrate bold flavors and cheery colors while borrowing the festive red and white look of classic holiday peppermint candies Combining butter cookies with the fun of hand shaped dough is a tradition passed from grandmother to grandchild These cookies are a modern take on holiday nostalgia
Seasonal Adaptations
Use green food coloring and lemon extract for a spring version Roll the dough with bright sprinkles instead of peppermint for a birthday Try a cocoa and white swirl with peppermint for a chocolate twist
Helpful Notes
Let the dough rest fully each time you chill it enjoy the process of swirling and rolling and remember to slice gently for prettiest cookies
Success Stories
People who try this recipe often say they are amazed by how impressive the cookies look if you take care on the rolling and chilling steps Anyone who loves classic buttery cookies with a festive flavor always goes back for seconds Friends love the crunch and sparkle from the sugar or peppermint coating
Freezer Meal Conversion
You can freeze the unsliced dough log tightly wrapped for up to two months When ready to bake let thaw in the fridge for a few hours just until sliceable then slice and bake as usual Baked cookies also freeze well and only need ten minutes at room temperature to thaw You will never be without a sweet treat when you prep ahead
With simple steps and a little patience, you will have festive cookies that impress on every holiday table. Make these once, and they might just become your new winter tradition.
FAQs for This Recipe
- → How do I keep the swirl pattern defined?
Chilling the dough after rolling and before slicing is crucial. This ensures clean layers and sharp swirls.
- → Can I use natural food coloring instead of gel?
Yes, natural food coloring can be used. Gel provides more vibrant color, but natural alternatives work as well, though the hue might be softer.
- → How can I prevent the dough from sticking while rolling?
Lightly flour your work surface and rolling pin. Chilled dough also helps prevent sticking.
- → What is a good substitute for peppermint extract?
If peppermint extract isn't available, consider using spearmint or omitting for a classic vanilla flavor.
- → How do I store the cookies for freshness?
Store cooled cookies in an airtight container at room temperature for up to one week.
- → Can I freeze the dough for later use?
Yes, tightly wrapped dough logs can be frozen for up to two months. Thaw in the refrigerator before slicing and baking.